
A cure for a busy year
It's been a long and very busy year so I have somewhat neglected my charcuterie. Last year there were salami, choritzos, bacon and gammon hams as well as my own take on biltong but time has run away with me this year. Before we all get caught up in the Christmas rush I need to get back into the swing of things. To set me on my way I decided to start with the easiest of all, pancetta. I'll prepare a nice half belly of pork sometime soon but to start me off I decided to begin with a 500 gram piece of pork belly. I've adjusted the seasoning mix accordingly.

On the starting block
First things first, I remove the skin from the belly. You can as your butcher to do this as it can be a little tricky.

Skin off
Now to the cure. I use a spiced variation of the simple sugar and salt cure I sometimes use for bacon. I like to use molasses sugar in my cure as it adds a nice dark colour to the meat. I add juniper berries, nutmeg, garlic, bay and thyme to the mix to give it a good flavour.

All the ingredients (with the exception of a little malt vinegar)
500grams of pork belly (skin removed)
30 grams of cooking salt
30 grams of dark molasses sugar
8 to 10 juniper berries
10 grams black pepper
2 grams nutmeg
a small sprig of fresh thyme
1 bay leaf (I prefer fresh)
1 small clove of garlic (optional)
You can, at this point, crush the juniper berries, mix the salt and sugar, grate the nutmeg, finely chop the bay, crush the garlic and grind the pepper before mixing it all together. I take the Bamix shortcut here. One of the best tools I have in the kitchen when it comes to grinding or chopping herbs and spices or blending a sauce in the pan. I have to admit that I do prefer to hand grate the Nutmeg. I love the smell.

The cure post Bamix blitz.
Now to put it all together. Wash the pork belly with a good dose of malt vinegar. Place the dampened meat into a large ziploc bag. Add the cure mixture, about half to either side of the meat. Seal the bag removing most of the air and place in the fridge.

In the Bag
The final ingredient is time and a little care each day for 4 days. For each of the next four days, I take the ziploc bag out of the fridge and massage the dark syrup that has now formed around the meat for a few seconds before returning it to the fridge.
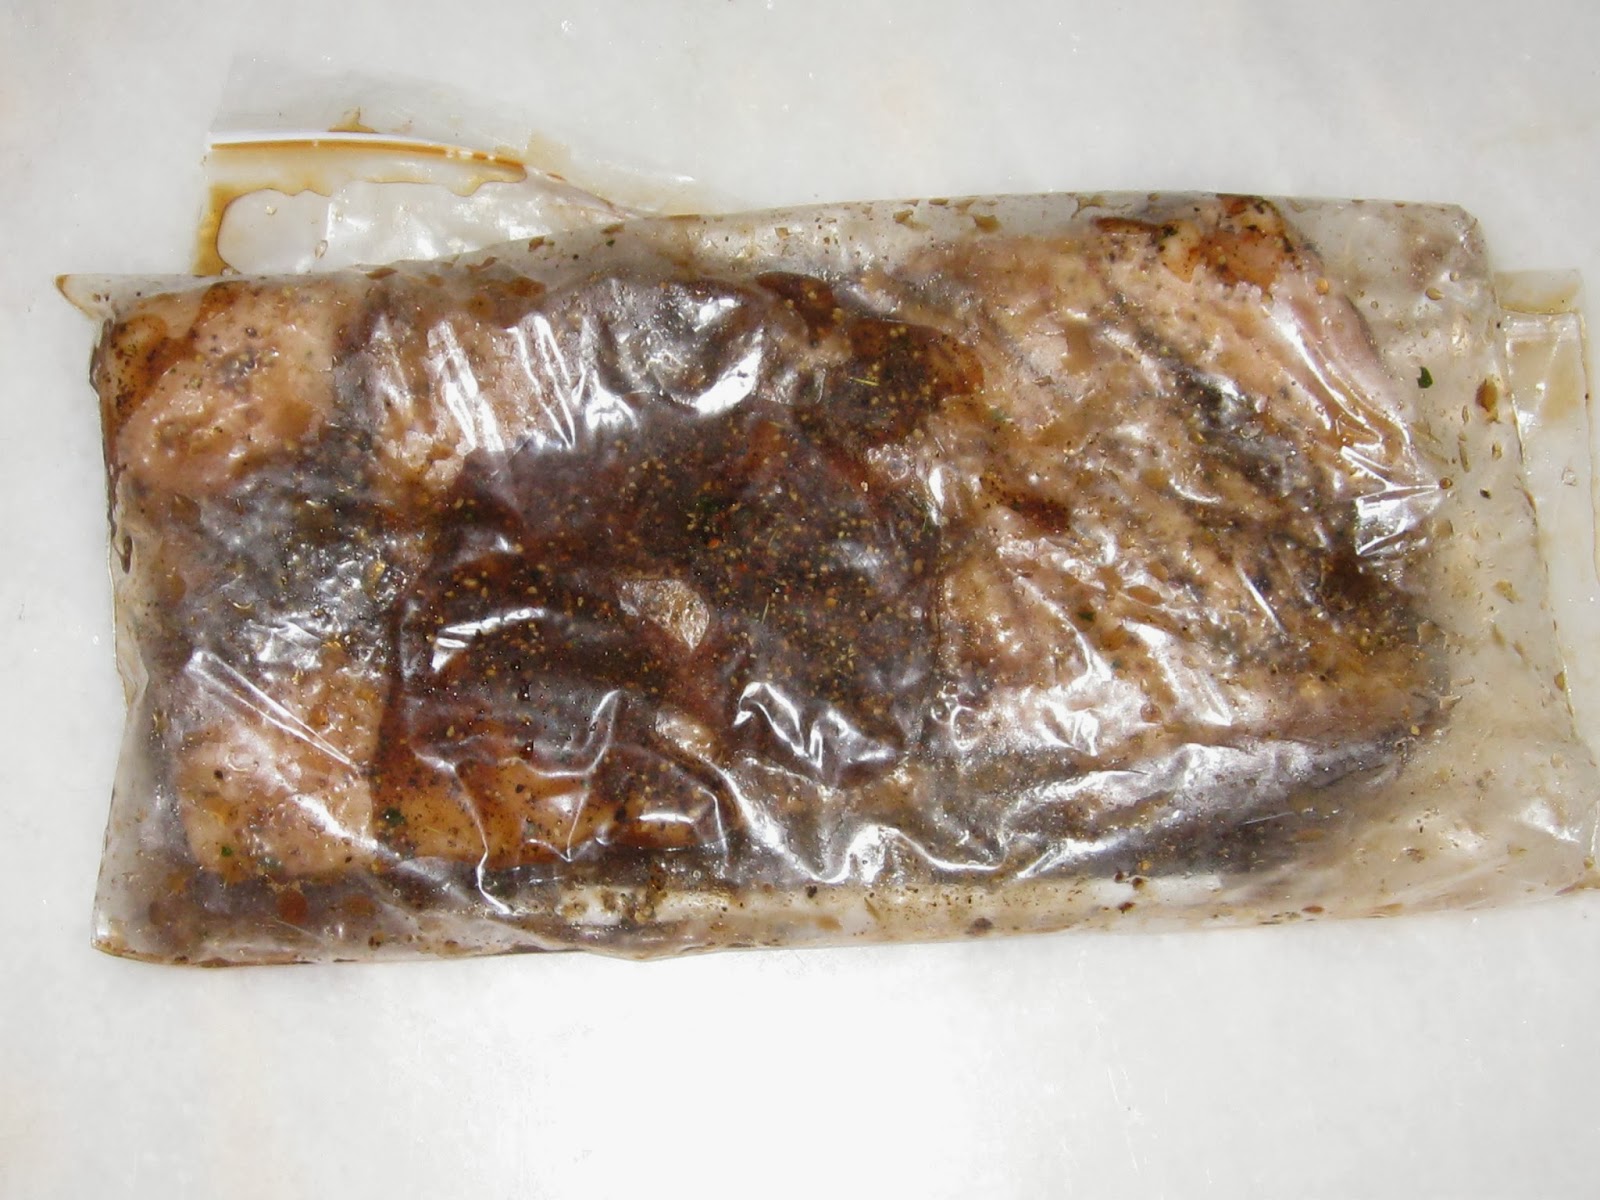
The syrup
After four days, remove the cured pork from the bag and carefully wash the syrup mixture off the meat. Another wash with malt vinegar and you are ready to roll and tie the meat.

I find a larger joint easier to tie but once you have the hang of the butchers knot (and with the aid of the odd skewer if needed) then it is fairly quick and easy to roll the meat ready for a short spell hanging in an airy room. My conservatory is shaded and ideal for this.

The Knot

The completed roll
I now hang this in my conservatory for two to three weeks until the meat feels leathery. You don't want it to get too hard. I know slice and vacuum pack most of it. The scraps and ends get chopped and vacuum packed for use in soups and sauces.

The final product
No comments:
Post a Comment